CSS Selectors Explained with Examples
🧠 Introduction: Why CSS Selectors Matter
Have you ever wondered how websites go from raw HTML to beautifully styled layouts? The secret sauce is CSS (Cascading Style Sheets) — and at the core of CSS is something every web developer must master: selectors.
CSS selectors are how we target HTML elements to style them. Whether you’re building a personal website, a freelance project, or working on a professional web app, understanding selectors is non-negotiable.
In this guide, we’ll break down what CSS selectors are, explore real-world examples, and help you understand how to use them like a pro — even if you’re just starting out.
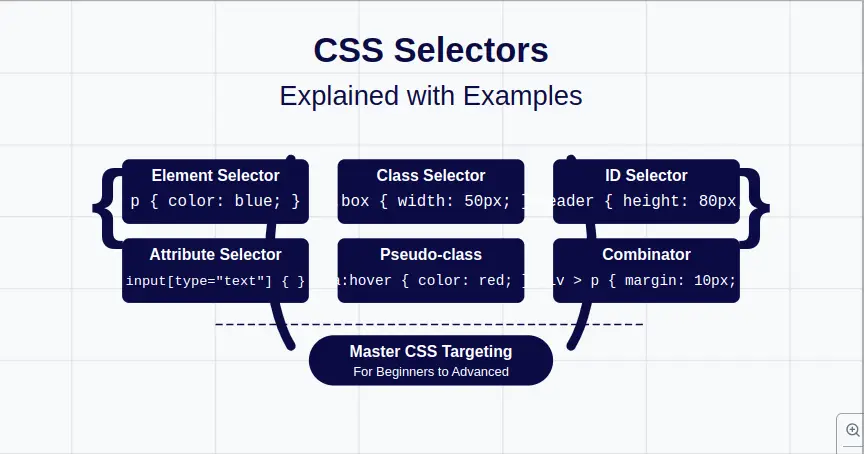
📚 What Are CSS Selectors?
In simple terms, a CSS selector is a pattern that tells the browser which HTML elements to style.
Let’s take a basic example:
p {
color: blue;
}
This selector targets all <p> (paragraph) tags and makes the text color blue.
🔍 Types of CSS Selectors (with Examples)
Let’s break down the key types of CSS selectors — from basic to advanced.
1️⃣ Universal Selector (*)
The universal selector targets all elements on a page.
* {
margin: 0;
padding: 0;
box-sizing: border-box;
}
👉 Used in resets to remove browser default styles.
2️⃣ Type Selector (Element Selector)
Targets elements by tag name.
h1 {
font-size: 2.5rem;
}
👉 Applies the style to every <h1> on the page.
3️⃣ Class Selector (.classname)
Targets all elements with a specific class attribute.
.card {
background-color: #f5f5f5;
padding: 20px;
}
HTML:
<div class="card">Content here</div>
👉 Ideal for reusable components.
4️⃣ ID Selector (#idname)
Targets a single element with a specific id.
#header {
background-color: #333;
color: white;
}
HTML:
<div id="header">My Website</div>
⚠️ Use IDs sparingly — they should be unique!
5️⃣ Group Selector
Applies the same style to multiple elements.
h1, h2, h3 {
font-family: 'Open Sans', sans-serif;
}
👉 Saves time and keeps code clean.
6️⃣ Descendant Selector
Targets elements nested inside another element.
nav ul li {
list-style: none;
}
👉 Think of it like “child of a child” — useful in menus and layouts.
7️⃣ Child Selector (>)
Targets direct children of an element.
.container > p {
color: green;
}
👉 Only styles <p> that are directly inside .container.
8️⃣ Adjacent Sibling Selector (+)
Targets an element immediately after another.
h2 + p {
margin-top: 10px;
}
👉 Adds space only to the first paragraph after a heading.
9️⃣ General Sibling Selector (~)
Targets all siblings after an element.
h2 ~ p {
color: #666;
}
👉 Styles all paragraphs after <h2> in the same parent.
🔟 Attribute Selector
Targets elements based on attribute values.
input[type="text"] {
border: 1px solid #ccc;
}
👉 Extremely useful for styling forms.
🔥 Bonus: Pseudo-classes and Pseudo-elements
These aren’t traditional selectors, but they work with them to create powerful rules.
▪ :hover
Style when user hovers:
button:hover {
background-color: orange;
}
▪ :nth-child()
Style based on position:
li:nth-child(odd) {
background: #eee;
}
▪ ::before and ::after
Insert content before/after elements:
h1::after {
content: "🔥";
}
🧪 Practice Exercise: Build a Styled Card
Here’s a quick practice example using different selectors.
<div class="card">
<h2>Title</h2>
<p>This is some text.</p>
</div>
.card {
border: 1px solid #ddd;
padding: 15px;
width: 300px;
}.card h2 {
font-size: 1.5rem;
color: #333;
}.card p {
font-size: 1rem;
color: #666;
}
🚀 SEO-Friendly Tips for Using CSS Selectors
Keep class names descriptive:
btn-primary,form-groupAvoid overuse of IDs — classes are more flexible
Keep styles organized and use comments for clarity
Use dev tools in your browser to test selectors live
Combine selectors smartly for better maintainability
🛠️ Common Errors Beginners Make
Using
=instead of:in CSS rulesForgetting the
.for classes or#for IDsTargeting the wrong element (watch out for nested structures)
Writing overly specific selectors that break with small changes
Forgetting to link the CSS file in HTML
🙌 Final Thoughts: CSS Selectors Are Your Power Tools
The better you understand selectors, the more control you have over your designs.
Think of CSS selectors as your personal toolkit for transforming plain HTML into beautiful, professional websites. Whether you’re freelancing, applying for jobs, or building your own brand — mastering selectors is a fundamental step in your journey.
So take your time, practice regularly, and you’ll soon be styling like a pro!